The latex itself is worn out over time due to three main factors; being exposed to sun, sunscreen and sweat. You can maintain them by adding an UV-protectant like 303 Aerospace Protectant. Avoiding using sunscreen is a bad idea and not sweating is impossible. So once in a while, you need to replace them – for me, this happens about once every season. You can either send the garment to the retailer or you can do-it-yourself. For me, it takes about 15 minutes to replace a wrist gasket, and 30 minutes to do the neck gasket. The procedure for either is the same. I’ll show you how to replace the latex gasket.
I recommend reading the entire article before starting.
You need:
- A round object that fill-out the sleeve, e.g. a Nalgene bottle (I added some duct tape to make it fit better). Glueing is much easier if it doesn’t fold.
- A new latex gasket.
- Masking tape.
- Medium/fine grit sandpaper.
- A few rubber bands.
- A wood popsicle stick – I eat an ice cream every time.
- Scissors.
- A neoprene/latex glue, I recommend using Black Witch (comes with a handy brush) – it’s less sticky, dries quicker and much easier to handle than e.g. Aquasure.
Aquasure can be mixed with Cotol-240, which makes the glue cure faster.

First, you need to cut the old latex gasket off the fabric. It’s very important that you don’t cut into the fabric since this might cause a leak. Cut as close as possible to the fabric. I usually leave about 2 mm of the old gasket on the side of the fabric. Most manufacturers glue their gaskets onto the fabric, so you will have to leave the part that is glued on the fabric.


Once the gasket has been cut-off the fabric, your sleeve should look something like this. The remaining latex is the part that you glue the new one onto.
Use the sandpaper to roughen the latex, this makes the glue more effective.


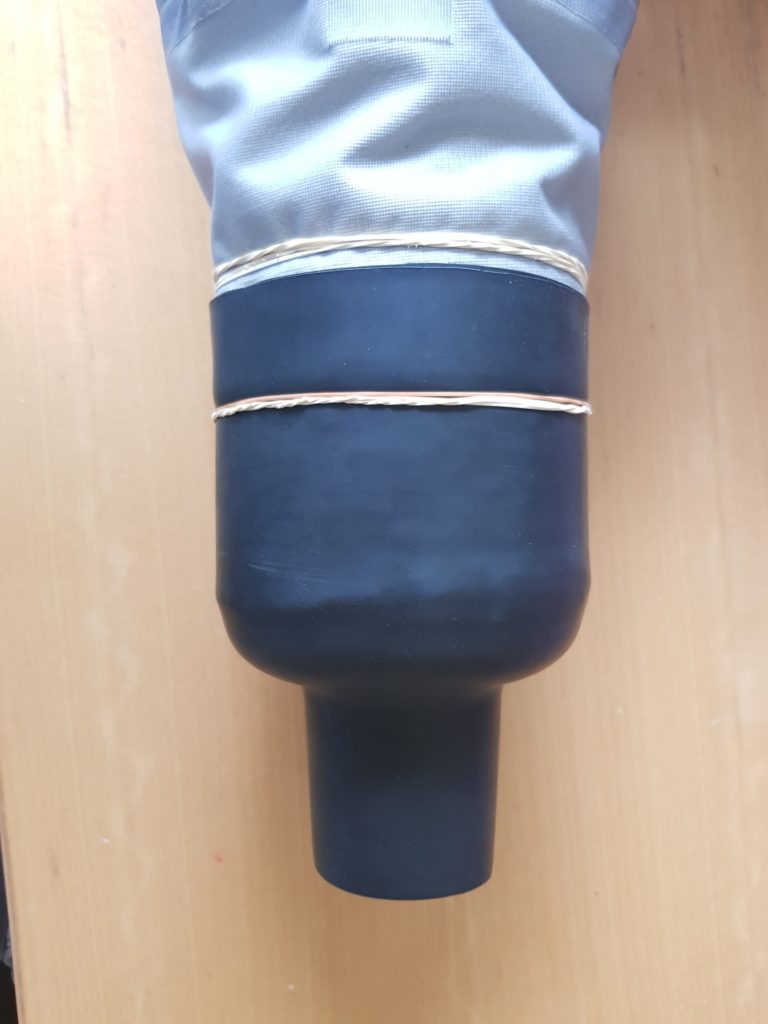
Next up, put the Nalgene (or any other) into the sleeve and make sure you have a tight fit. Use the rubber bands to make it sit in place, and not move around too much.


Take the new gasket, put it on top and make sure the gasket is pulled down so it fits on top of the old gasket.
Add a few rubber bands, and fold the gasket over the rubber bands.
Use the sandpaper to roughen the part of the new gasket that you are going to glue together with the other.

Add the glue in a fine layer on both the old and the new gasket. Black Witch cures quite quick, so you need to use the brush to spread it out right after you added it.
If you are using Aquasure, you don’t need to hurry, as it takes about 12 hours to cure – but don’t get any of it on your fingers, use gloves!


Let Black Witch sit for about 5 minutes or until touch dry, before using the popsicle stick to fold the new gasket over the old.


After connecting the gaskets, try to push any air bubbles out, as these can cause leaks.
Using Black Witch you should be good to go by now, but I usually leave it overnight before using it.
Aquasure (unless mixed with Cotol-240) needs to cure for 12 hours before it’s good to go.
To make it Bomb-Proof, I add a thin layer of Aquasure along the border of the seal. Here I use the masking tape, to protect the fabric and the gasket.
